The kit
Everything for one cake, in one bundle.
What's inside
One of each item per kit.
- 1
Boxed cake mix
One dry, shelf-stable boxed cake mix.
- 2
Can of soda
One can of Sprite or Coke — it replaces the eggs and oil.
- 3
Tub of frosting
One ready-to-spread tub of frosting.
- 4
Aluminum baking pan
One disposable aluminum pan — ideally with a fitting lid.
- 5
Printed directions
One instruction card printed in English and Spanish.
Not included: an oven, a mixing bowl, and a spoon or whisk. Cake-mix and frosting allergens still apply — keep the original labels on every item.
Baking directions
From the 2025 kit card
How to bake your cake
- Preheat the oven to 350 °F (175 °C).
- Remove the lid from the pan before baking (unless the pan manufacturer explicitly says the lid is oven-safe).
- In a bowl, mix the cake mix with one can of soda. Do not add eggs or oil.
- Pour the batter into the provided pan.
- Bake approximately 25–30 minutes, until done (a toothpick inserted in the center comes out clean).
- Let the cake cool completely, then frost and enjoy!
You will also need: an oven, a mixing bowl, and a spoon or whisk.
Good to know
- Baking times vary by mix, can size, and pan. Use the tested mix/can/pan combination and adjust baking time as needed.
- The allergens listed on the cake mix and frosting labels still apply. Please read the labels.
- An oven, a mixing bowl, and a mixing utensil are required and are not included in the kit.
Photo how-to
Four steps to cake
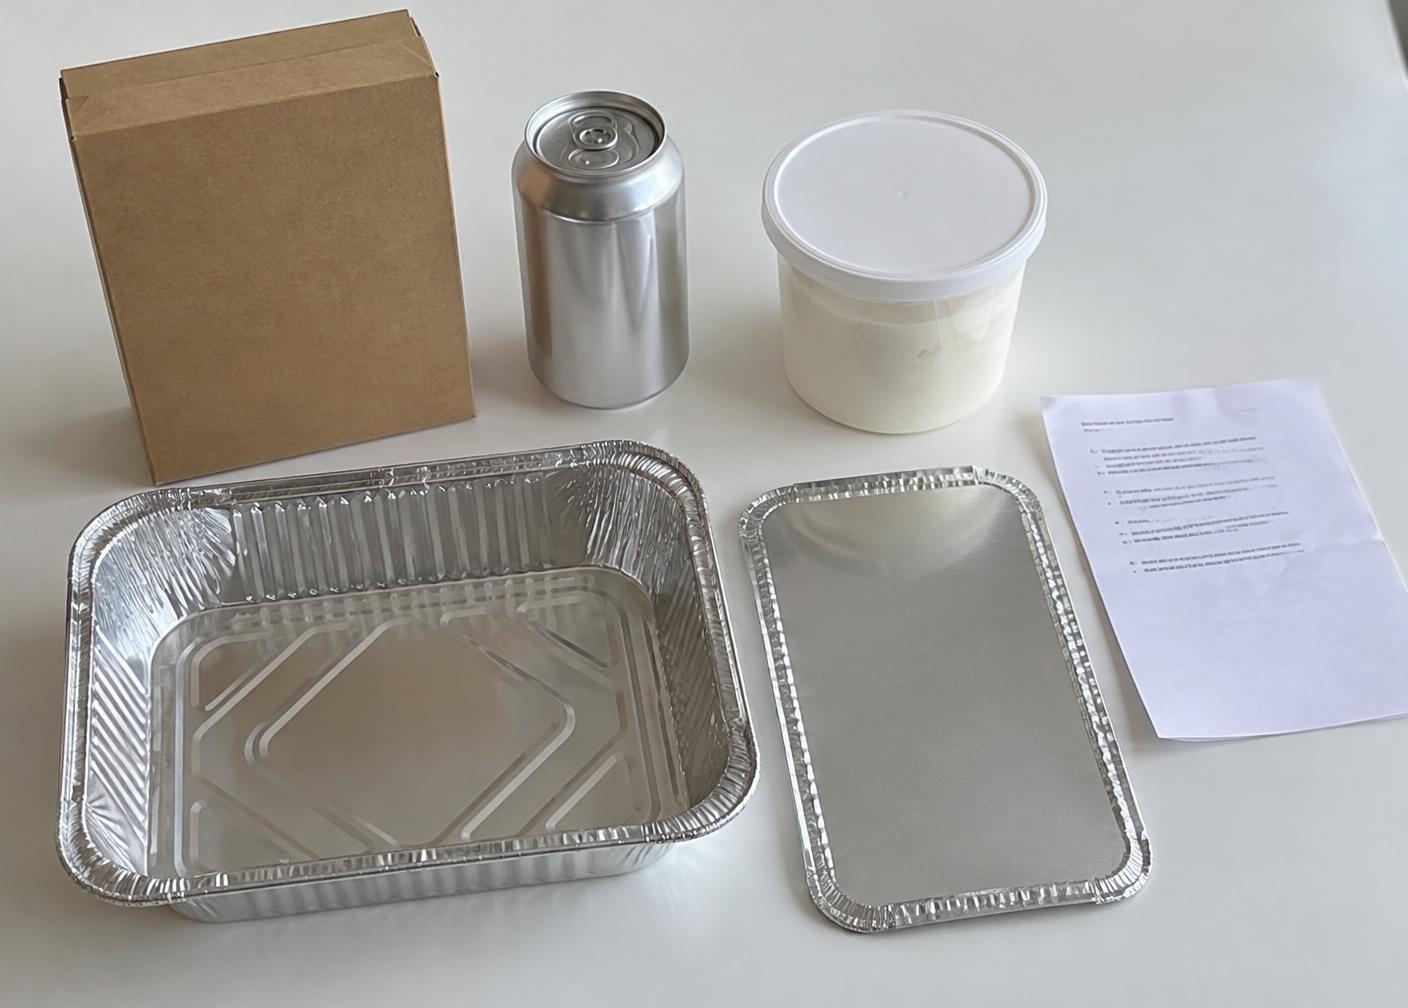
Step 1
Open the kit
Lay out the mix, soda, frosting, pan, and card. Remove the pan lid before baking.
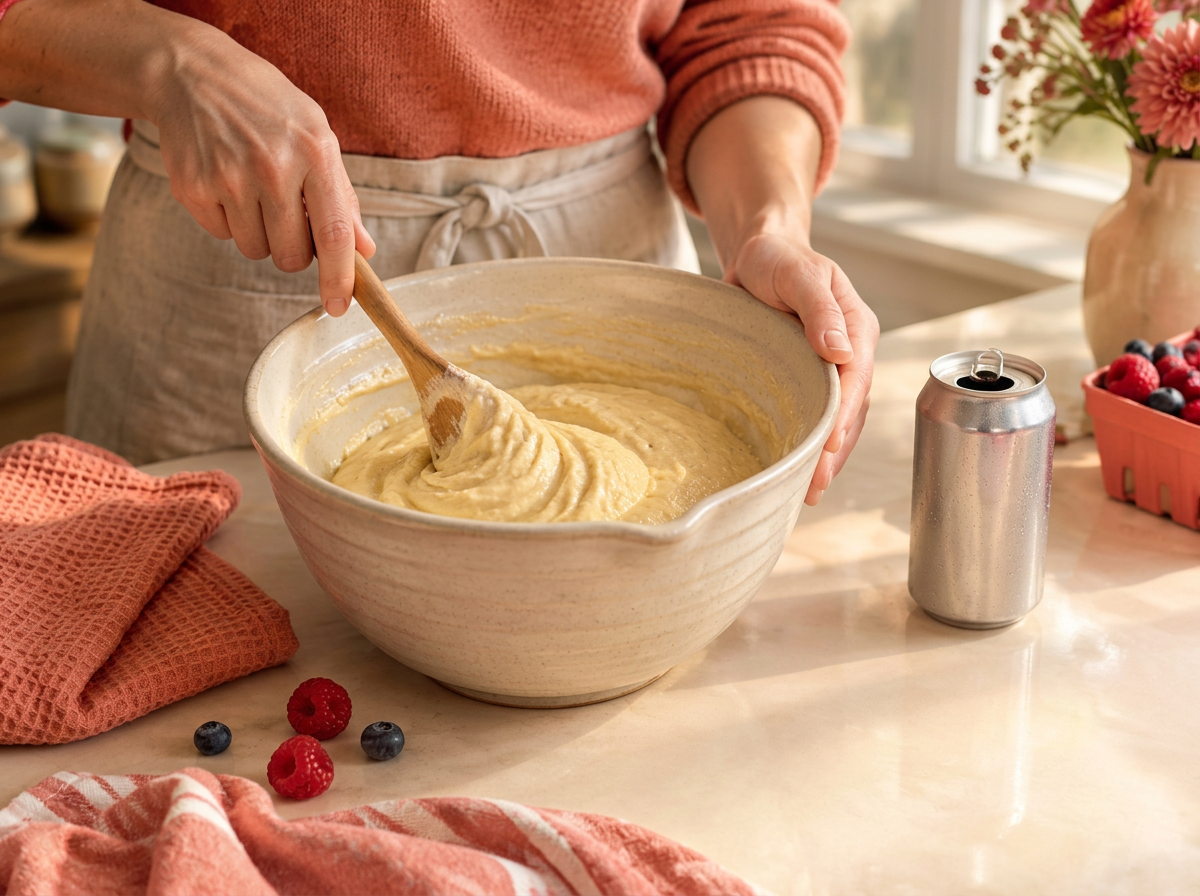
Step 2
Mix with soda
Preheat to 350 °F (175 °C). Stir the cake mix and one can of soda together. No eggs, no oil.
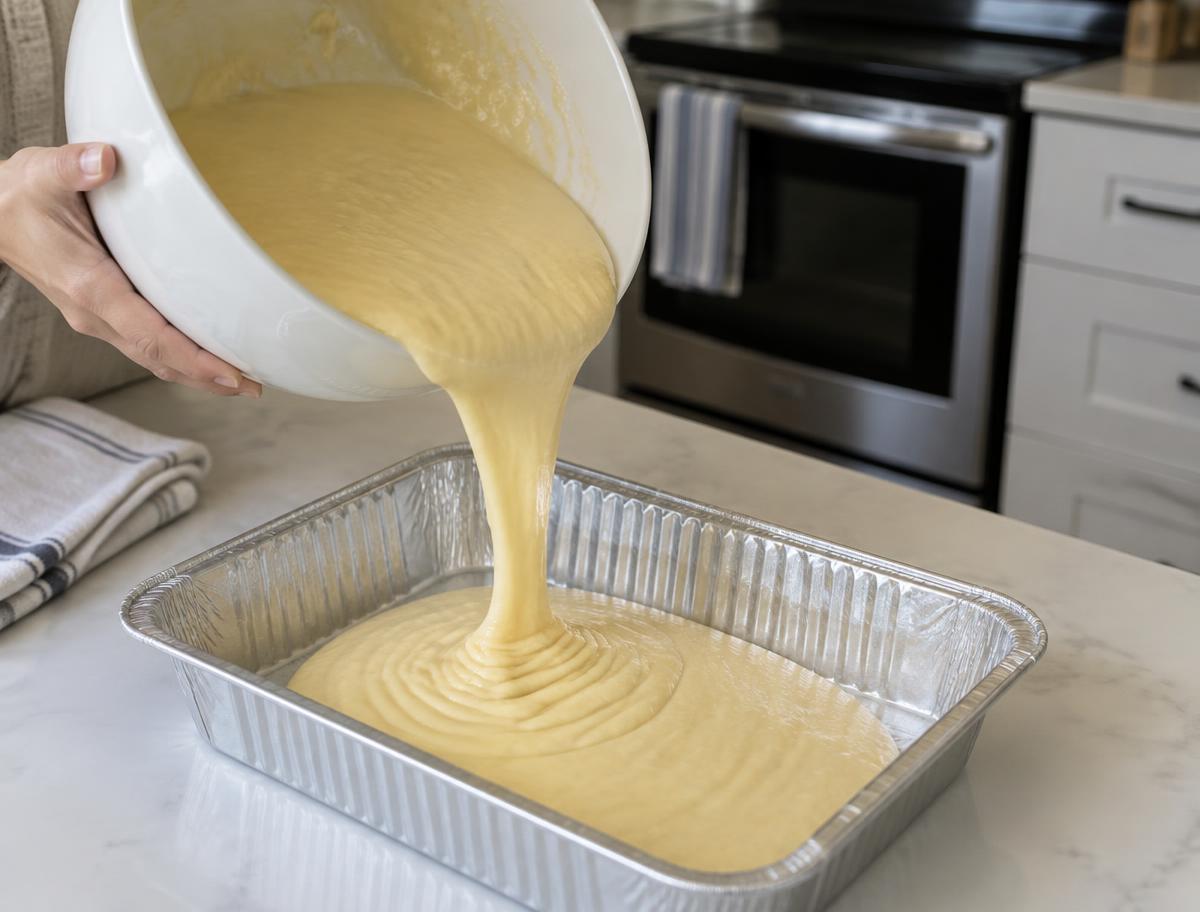
Step 3
Pour & bake
Pour the batter into the provided pan (lid off) and bake about 25–30 minutes, until done.
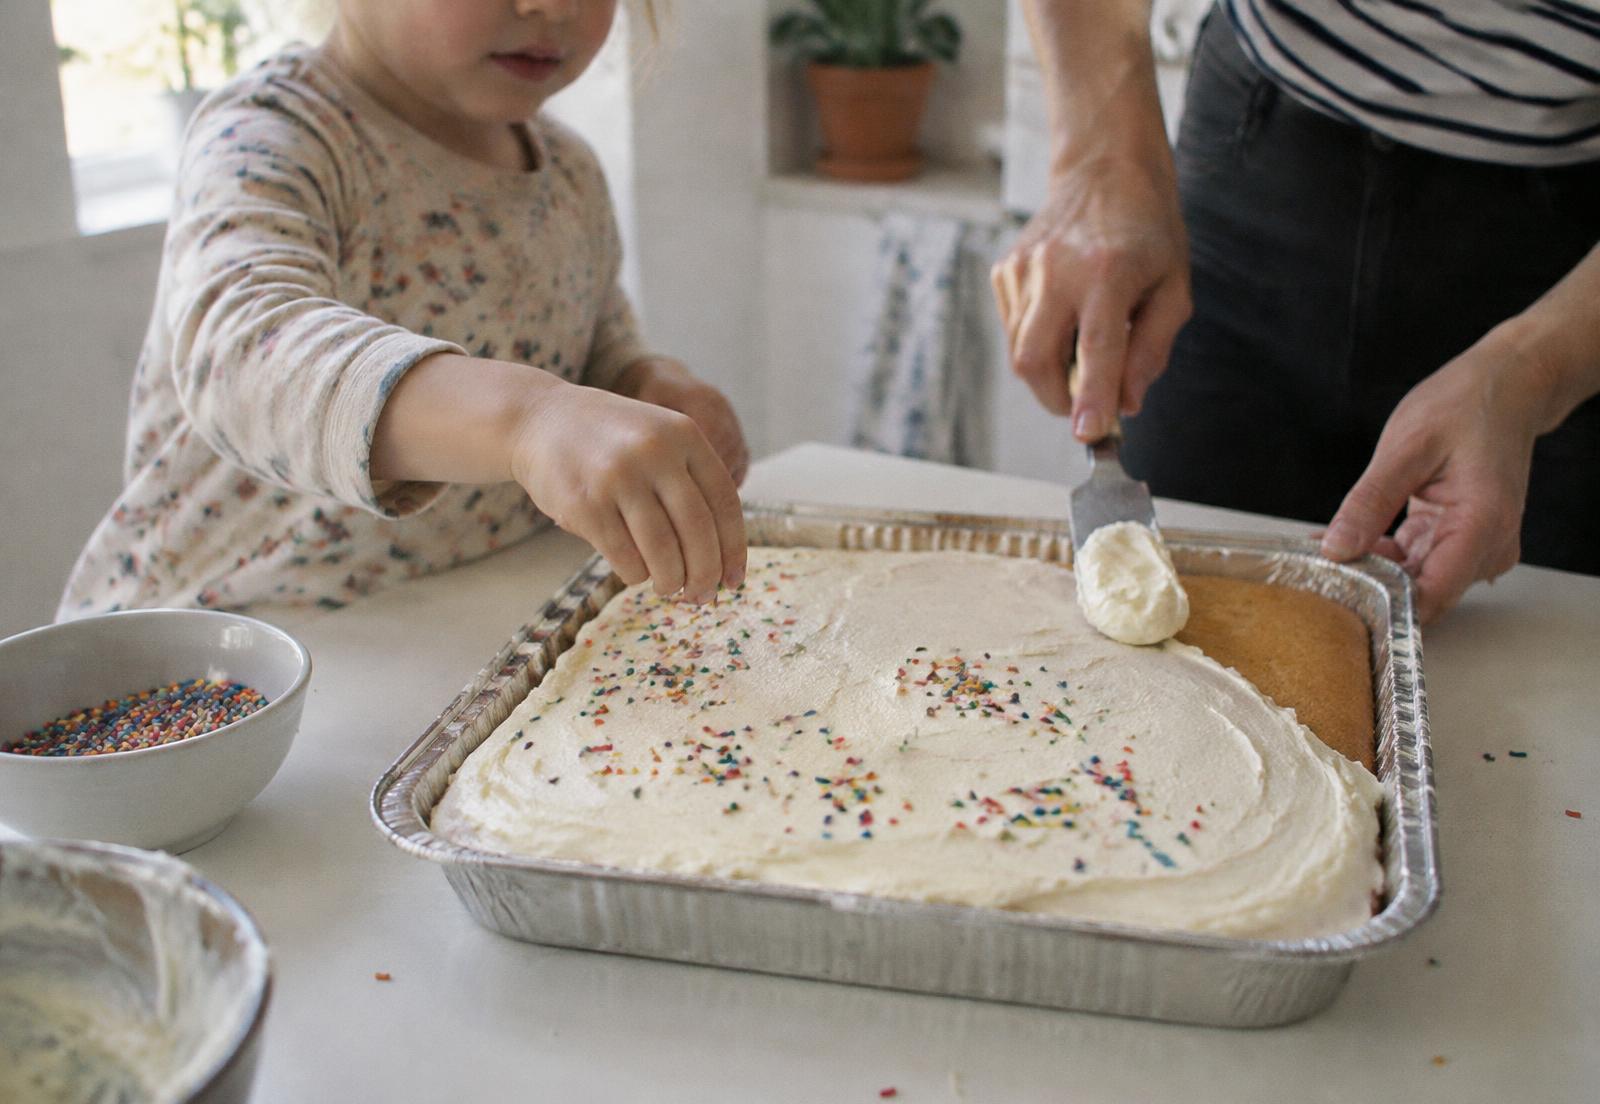
Step 4
Cool & frost
Let the cake cool completely, then frost and share.
Photos are illustrative stand-ins until real kit photos are added. Always follow the printed card in your kit.
Video walkthrough — coming soon
A short bake-along video is a planned future addition. It will appear here once it has been filmed.